I love chicken wings. I’ll admit that. It is one of the few foods that I tend to rather go out for than make usually. This has changed recently. In the past, to make good chicken wings, I have found that deep frying them was the way to go. Baking them just didn’t cut it. That is after I learned a few tricks, and now I can make crispy baked wings that do no suck. In fact, they are almost as good as a deep friend chicken wings.
Baking chicken wings rather than deep frying them has a few advantages other than the health benefits. With baking, your house will not smell like the deep fryer oil for a day or two afterwards. You also do not have to strain, clean, and store the oil between batches if you do not have a dedicated deep fryer.
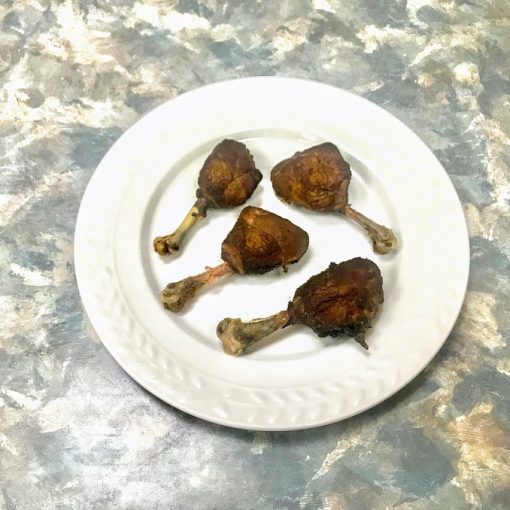
With some prep work, and some patience, you can make crispy baked chicken wings that not only don’t suck, but are quite delicious.
I use my salt free smoky chicken rub, mixed with kosher salt in this recipe. If you are using an off the shelf chicken rub, omit the salt, and use directly.
Print Recipe
Crispy Baked Wings That Don't Suck
Yum
Crispy baked chicken wings that are tasty and crispy.
Instructions
Prepare the seasoning
If you are using my Salt Free Smoky Barbecue Chicken Rub, mix it with the salt. If you are using another chicken rub, it probably already has salt in it, so you can skip adding more salt.
Add the baking powder to the rub mixture.
If you want the chicken wings a bit more spicy, add the red pepper flakes, and mix thoroughly .
Seasoning the wings
Put the wings in a large work bowl, and pour the seasoning mixture over. Mix everything together until all the wings are evenly coated, and there are no clumps of seasoning remaining.
Take a large baking sheet, and line it with foil. (This will make it much easier to clean.)
Place a wire rack over the foil lined baking sheet, and spread the wings out, trying to leave some space between each wing if possible.
Place the wings in the fridge, and allow to rest for at least an hour, up to a day. The longer the better.
Cooking the wings
Place the tray of wings in the oven.
Flip the wings after 20 minutes, and continue cooking.
Flip the wings again after another 20 minutes, and continue cooking.
After ten more minutes, flip the wings again, and continue to cook for a final 10 minutes.
Remove the wings, and serve immediately.


